Are you new to welding and eager to learn how to use a MIG welder? MIG welding, also known as Metal Inert Gas welding, is a popular welding process that offers versatility and ease of use. Whether you’re interested in tackling projects or pursuing a career in welding, mastering the basics of using a MIG welder is essential. In this step-by-step guide, we will walk you through the process of using a MIG welder for beginners.
Table of Contents
ToggleStep 1: Safety First
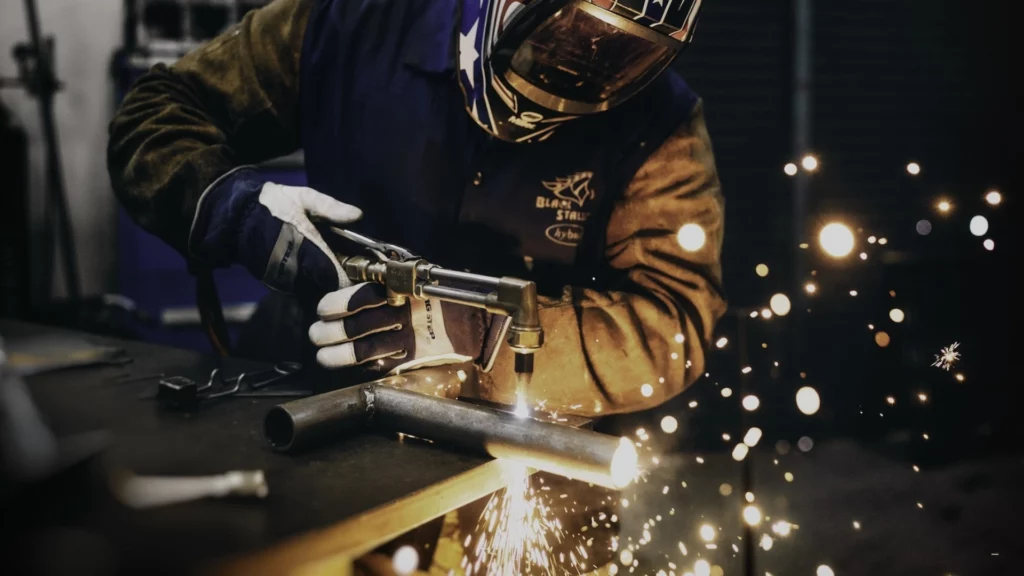
Before starting any welding project, prioritize safety. Put on your welding safety gear, including a welding helmet, gloves, and flame-resistant clothing. Ensure you are working in a well-ventilated area or use proper ventilation equipment to protect yourself from welding fumes.
Step 2: Set Up the Welder
Begin by setting up your MIG welder according to the manufacturer’s instructions. This involves connecting the welding gun, grounding clamp, and gas supply. Make sure the machine is plugged into a suitable power source.
Step 3: Prepare the Workpiece
Clean the workpiece to remove any dirt, rust, or paint that could interfere with the welding process. Use a wire brush or grinder to achieve a clean and smooth surface. Ensure the workpiece is securely clamped to prevent movement during welding.
Step 4: Select the Wire and Gas
Choose the appropriate wire and shielding gas based on the material you are welding. Common wire types include ER70S-6 for mild steel and ER308L for stainless steel. Consult the welding wire chart provided by the manufacturer for guidance. Select the proper shielding gas, such as a mixture of argon and carbon dioxide for general-purpose welding.
Step 5: Adjust the Welding Parameters
Refer to the welder’s manual to determine the recommended welding parameters for your specific project. Adjust the wire feed speed and voltage settings accordingly. Start with the suggested settings and make adjustments as needed to achieve a stable arc and proper penetration.
Step 6: Position the Welding Gun
Hold the welding gun with a firm grip, ensuring a comfortable position. Position the gun at a slight angle, approximately 10-15 degrees, pointing in the direction of the weld joint. Maintain a consistent distance, typically around ⅜ to ½ inch, between the gun nozzle and the workpiece.
Step 7: Start Welding
Start the welder and initiate the arc by briefly touching the welding gun nozzle to the workpiece and then quickly pulling it back. Maintain a steady forward movement along the weld joint while continuously feeding the wire into the puddle. Keep the arc length consistent for a stable weld.
Step 8: Control the Weld Bead
As you weld, pay attention to the weld bead formation. Adjust your travel speed and gun angle to achieve the desired bead shape and size. Practice a smooth and controlled motion to avoid excessive spatter and achieve good fusion between the base metals.
Step 9: Monitor and Adjust
Regularly inspect the weld bead and adjust the welding parameters as necessary. Ensure proper penetration and avoid excessive heat that may lead to burn-through or warping. Take breaks when needed to prevent overheating of the welder.
Step 10: Post-Welding Steps
After completing the welding process, allow the weld to cool naturally. Inspect the weld for any defects, such as cracks or inconsistencies. Clean the weld area and remove any slag or spatter using a wire brush or grinder.
By following these step-by-step instructions, beginners can gain confidence in using a MIG welder. Remember to practice regularly to refine your technique and improve your welding skills. With time and experience, you will be able to tackle more complex welding projects with ease. So, put on your welding gear, grab your MIG welder, and start your journey into the world of welding.